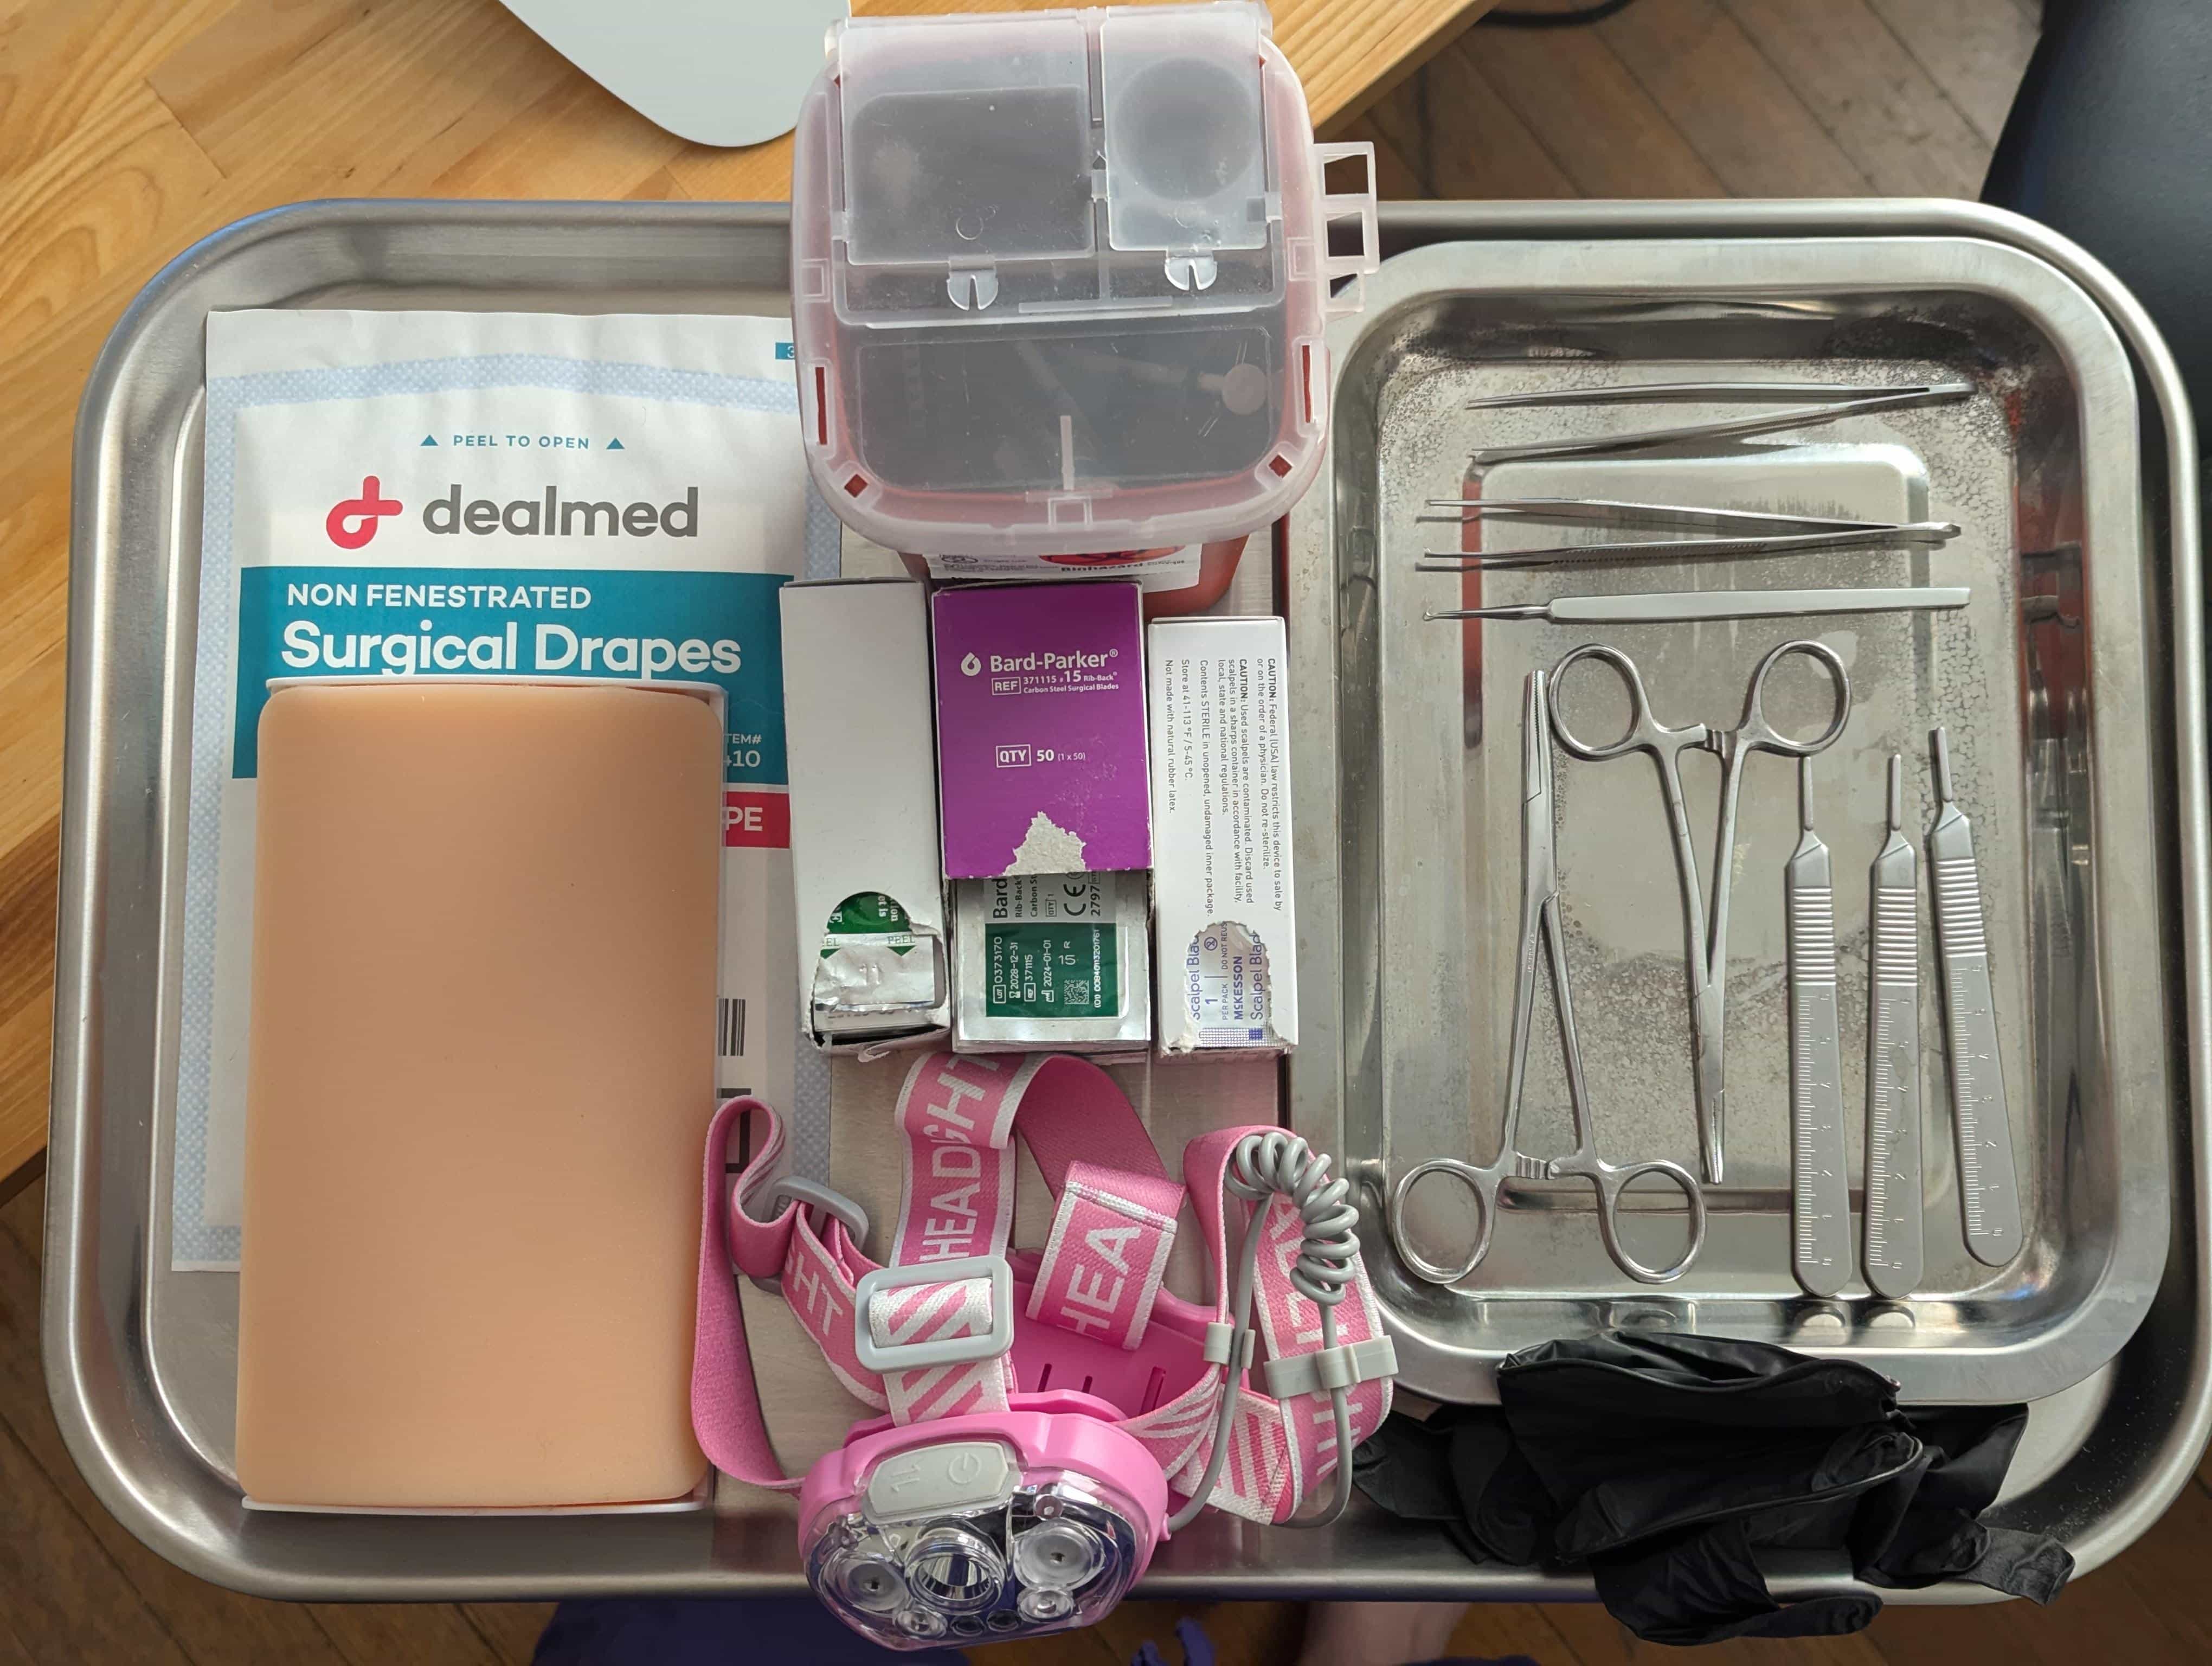
In this tutorial, we will use scalpels and forceps to practice the technical details of skin removal. We will:

Put the artificial skin on your procedure table, at the height of a person. Put the sharps container and scalpel blades in easy reach. Put the instrument table or mayo stand on your dominant side. Adjust the height of the instrument table to be between waist height (standing) and shoulder height (seated). We do this to maintain a sterile field. (See here for more information.)
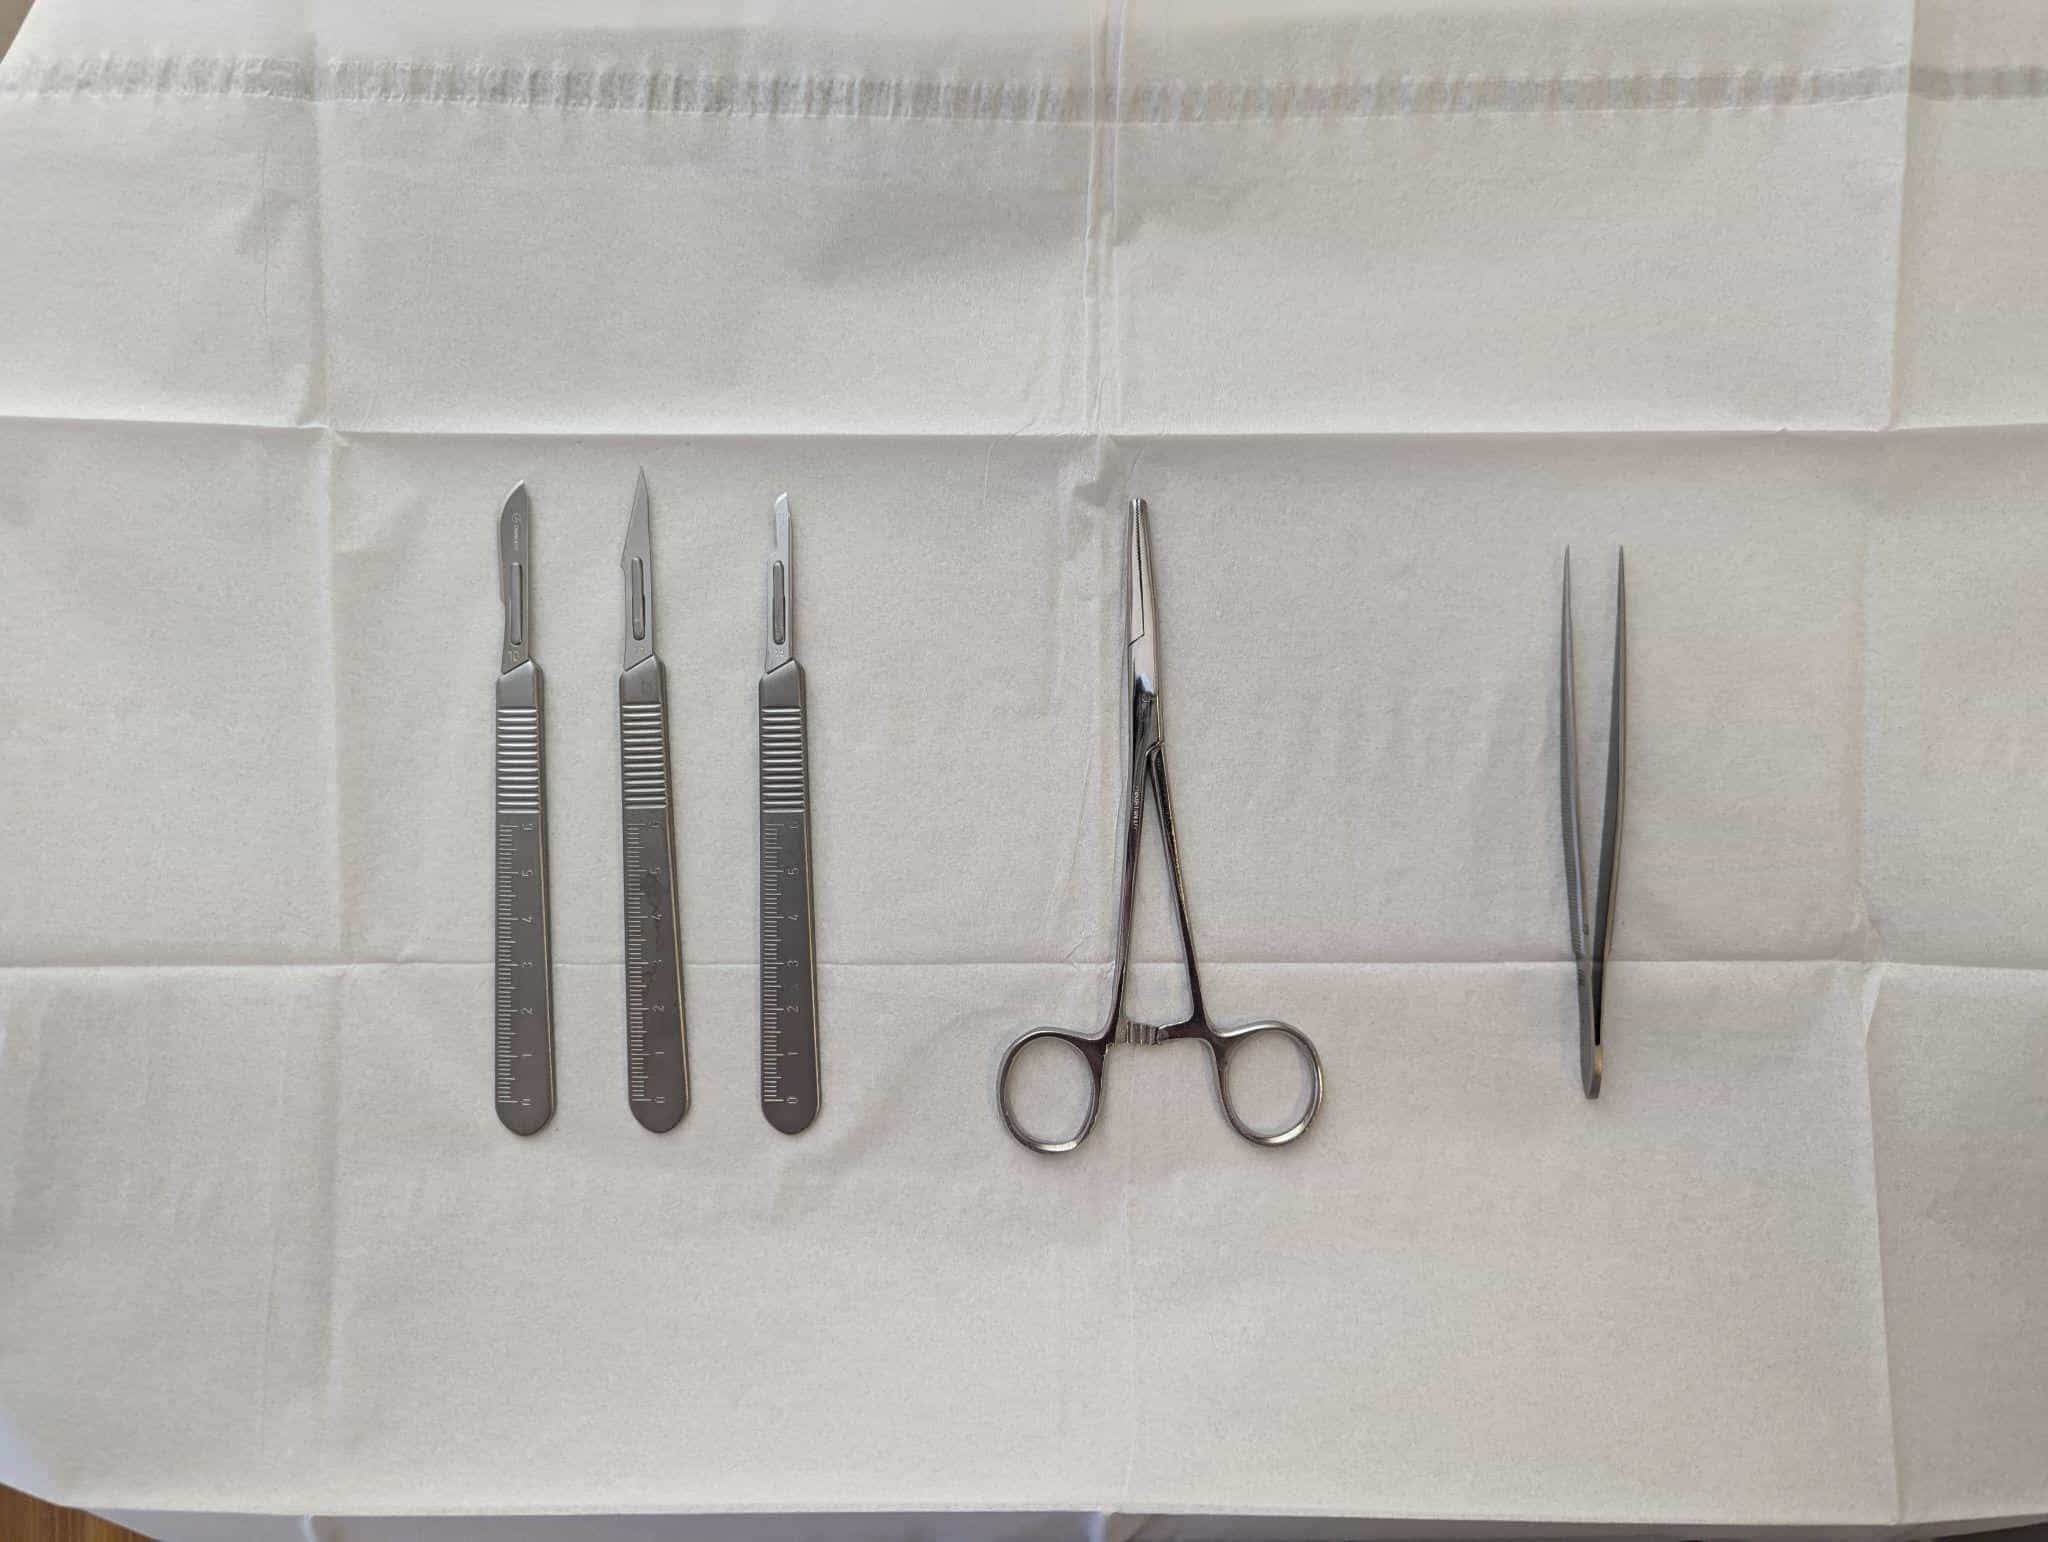
Open the sterile drape's packaging. Touching only the outer inch of the drape (it should be marked), open it and use it to cover the instrument table. The outer inch is considered non-sterile, so our hands touching it is okay. If you mess up and touch an inner portion, fold it back up and try again. Put scalpel handles, forceps, and skin hook (optional) in the middle of the drape.
Don gloves and headlamp.
You may notice your gear is uncomfortable. If so, now is a good time to figure out the adjustments you need to make (adding foam pads, abandoning it entirely). This is a better time to learn this than while in the middle of a procedure! You may also notice that your positioning is unergonomic and starts to hurt after a while. Adjust until it's not! Being in pain is distracting and can make you rush.
Next, we will practice scalpel changes. Watch this video of how to do this. Get a package with a #15 blade. In a real procedure, your assistant would open the package, and you would extract the blade with your hemostatic forceps, without touching the packaging. Practice taking the blade out of the packaging and attaching it to the scalpel handle, then remove the blade and put it back in the packaging. Do this until you feel comfortable with it.
Put a #10 and #11 blade on your other two handles. Place all tools back on your instrument table when not in use.

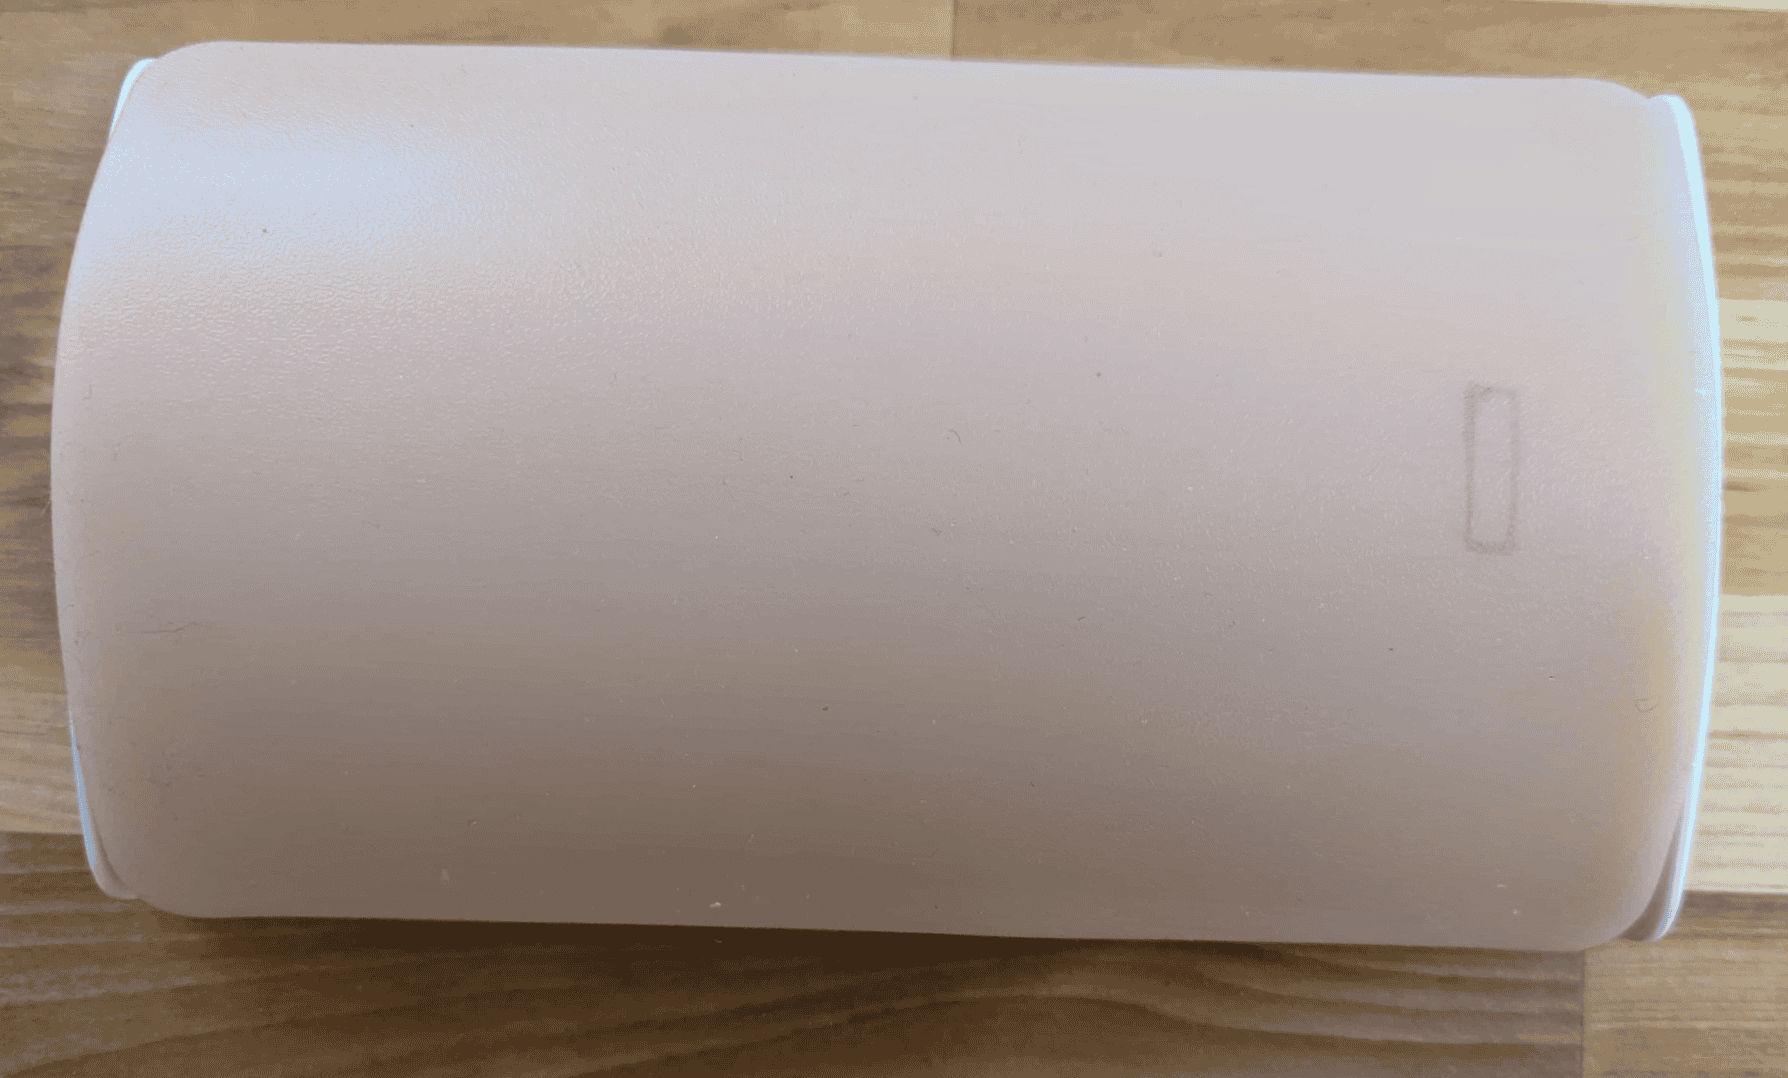
Using the gentian violet pen, draw a small rectangle on the artificial skin, about 2cm by 0.5cm.

TODO how to hold scalpels. https://sites.uw.edu/uwgensurgtechskills/instrument-handling-scalpels/ Using the body of the #15 blade, cut along the longer two sides. Using the #11 blade, cut the two smaller lines. Use the #11 to go inwards towards each corner to ensure we go all the way. Using the splinter forceps, lift a corner and begin... Due to the limitations of the artificial skin, we're going to use the "scanning" method of skin removal. Check the straightness of the lining cuts. Are your corners sharp? See how consistent your depth of removal is. Ideally, you want Pull back the edges of the wound and check the depth of your lining cuts. Were they too deep?
Now we do a bigger rectangle. Since the lines are longer, let's use the #10 scalpel. Focus on clean lines and a consistent depth. ... As you cut, note how much of the hypodermis is stuck on the bottom of the removed dermis. You want this to be as small of an amount as possible.
Now a bigger circle. Use tip of #10 or flat of #15. Get started with #15, use #10 for large sections. Finish with #15 for details.