How To Remove Skin
This page describes the technical considerations for the process of skin removal for scarification in as much detail as possible. It does not explain how to perform the procedure as a whole. It should be read after going through the tutorial(currently nonexistent), and before attempting this on living flesh.
You're scrubbed in, you've got either fake skin or the real thing in front of you, and the design has been transferred. Now what do you actually do to remove the skin? There are two steps: lining, where you cut along the edges of the design, and removal, where you pull the skin up and cut beneath it to release it from the body. These steps are what we do because they're intuitive and get results. Results are the important thing. Understand the risks (shaky lines, inconsistent depth, going too deep) and do what gets the piece to look good.
NOTE: This page exists on a provisional basis. It was first published October 22, 2025, based on very old notes. I am in the process of updating it with newer notes and conversations with others. It is not current or complete. I will remove this note once it is.
Lining
The first step is lining the design. This is the process of using a scalpel to cut along the edges. The guiding lines are the most important part to get crisp and correct.
Select an appropriate scalpel, hold the skin taut with your non-dominant hand, and draw the scalpel perpendicularly across the skin. The skin should separate, the sides pulling away from themselves (TODO: pictures). Once you've done a line, use a #11 to cut backwards into each corner, to make sure the line is sharp, with a consistent depth all the way from edge to edge.
You want about 1mm deep, though it will vary by subject and location. For clean lines, it is best to cut to depth in your first go. Favor single, deliberate, deep cuts over repeated shallow ones. You are doing a brutal, violent thing - if you try to make it not suck by using a light hand, it will end up sucking more. In the end, you have to "fucking run it."
Use a very light pressure. Switch to a new blade the second you think your blade is becoming dull. Try and keep the blades clean, and don't allow blood to dry on them. Wipe the blade on a piece of gauze soaked in saline to clean it.
If the section you've lined is large or irregularly shaped, you may want to divide it into smaller subsections. If you do this, you may need to alternate between the subsections when removing, so you're removing them at the same time. (UNCLEAR if different technique mitigates this)
You should only line a medium-sized section of the design before moving on to removing it. If you line the whole design, you may find the later sections have closed up, and you'll need to re-open them. This is painful and can be a source of error.
Tool Selection: Lining
There are three scalpel sizes we use during skin removal - the #10, #11, and #15. In the end, what tools to use for what parts of the procedure depends on the artist's preference. You will have to experiment and see what works for you. Enne uses the 11s for lining curves, and I've seen people use 15s for the entire procedure (both things that we do not recommend). Here's what we've found works so far, for the different blades.
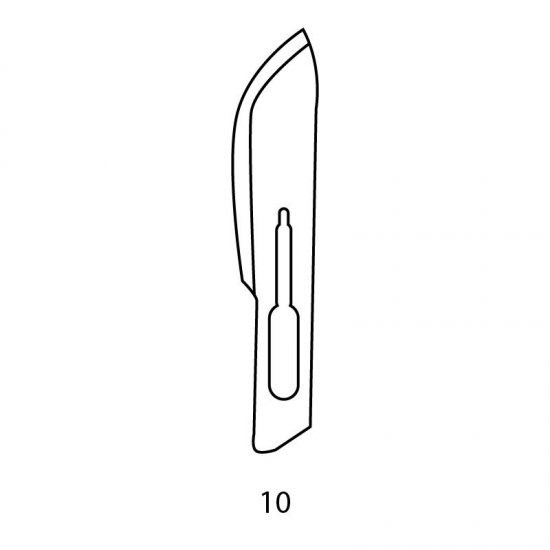

The 10 is good for long, straight guiding lines. For this, it's held like a violin bow. You can also use the tip for curved guiding lines.
The 11 is good for corners and small straight lines. Be careful, as it's much easier to go too deep with the 11.
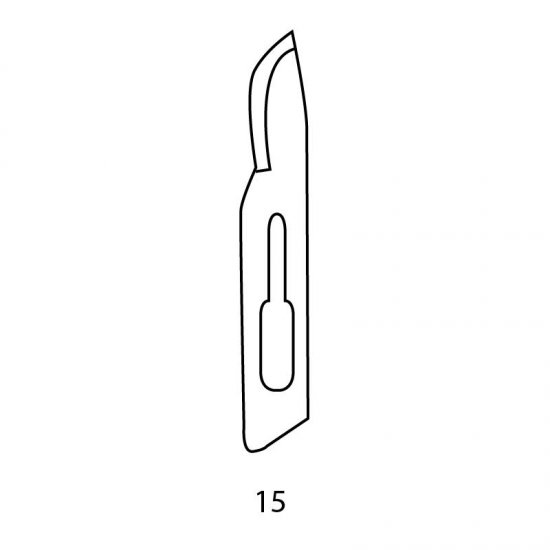
The 15 is good for curved lines and finer detail. Use the full length of the blade, to prevent it from becoming dull prematurely.
Removal
Lift a corner of the skin using your forceps. Use a #15 scalpel to separate the skin, while continuing to pull up with the forceps. Use the natural elasticity of the skin so that only the raised portion is cut. You may need to angle the scalpel slightly down, depending on elasticity, so that you don't cut through the piece you're lifting. Keep the scalpel paralell-ish to the skin. Use circle motion of blade, cutting on downstroke, utilizing all of the blade's edge. (This avoids premature dulling.) Avoid cutting beyond the guiding lines.
If your guiding cuts are not deep enough, you can reinforce/deepen them with a #15 blade as you go. It's really important to have them deep enough so you don't go past them by accident when cutting horizontally. Try to notice early if you go outside the lines. Keep going, but angle back in to get back on track. Deepen the guiding cuts.
Dab up blood with gauze, or irrigate as needed. Try to not let anything dry on your forceps or blade.
Try and remove sections all at once, instead of in a bunch of smaller pieces. If the skin tears and you can't remove a piece all at once, restart as if from a new section (i.e. do a new angled cut, leaving a Δ shape in the middle). Then, go back and touch up intermediary portion. The skin hook is useful here, to get those chunks started.
You will know you're deep enough because there will be a natural cleavage point in the skin, and it will be easier to remove consistently at this depth. Depth is also partially indicated by the amount of blood flowing. It will look sort of white (once you remove the blood and skin). (TODO: Pictures)
Touch-up section as needed. Proceed to next section.
Tool Selection: Removal
The #10 scalpel blade is good for longer chunks sideways. The 15 is also often used, especially for smaller pieces. It has a sharper tip that is easier to use in a "scanning" motion. The 11 is not used during removal.
You have several choices for forceps to use. Our favorite is splinter forceps. You need ones with a serrated tip, and the tip should be as small as possible (our favorite is the Miltex Premium 6-304). It is possible to do an entire procedure with splinter forceps, but sometimes other options are easier. If the tissue you're grabbing is large and keeps slipping, consider adson forceps (toothed) or locking haemostatic forceps (the smallest you can find). Eyebrow tweezers are also appropriate for small lateral chunks, or wider parts. You may also find a skin hook useful for lifting up skin that's hard to get a hold of.
Known Opportunities for Improvement
For some reason, our scalpel handles keep wearing out. The blades dent the metal as they're going on/coming off, and over time this makes it hard to put on/take off blades. We don't want to switch to disposable handles, because those are more expensive. (60c/pc vs 15c/pc, at the lowest prices I found.) Is it our technique? Is it a boots theory thing, and we need to buy more expensive handles? Does this just happen, and we should get a bunch of the $2 handles and deal with it?
Carbon steel vs stainless steel blades? Does it matter? Do we care about the rib-back design? Are different brands better (wearing out slower?)
Try out woven vs non-woven gauze pads during procedure. Does it make a difference?
Things That Didn't Work
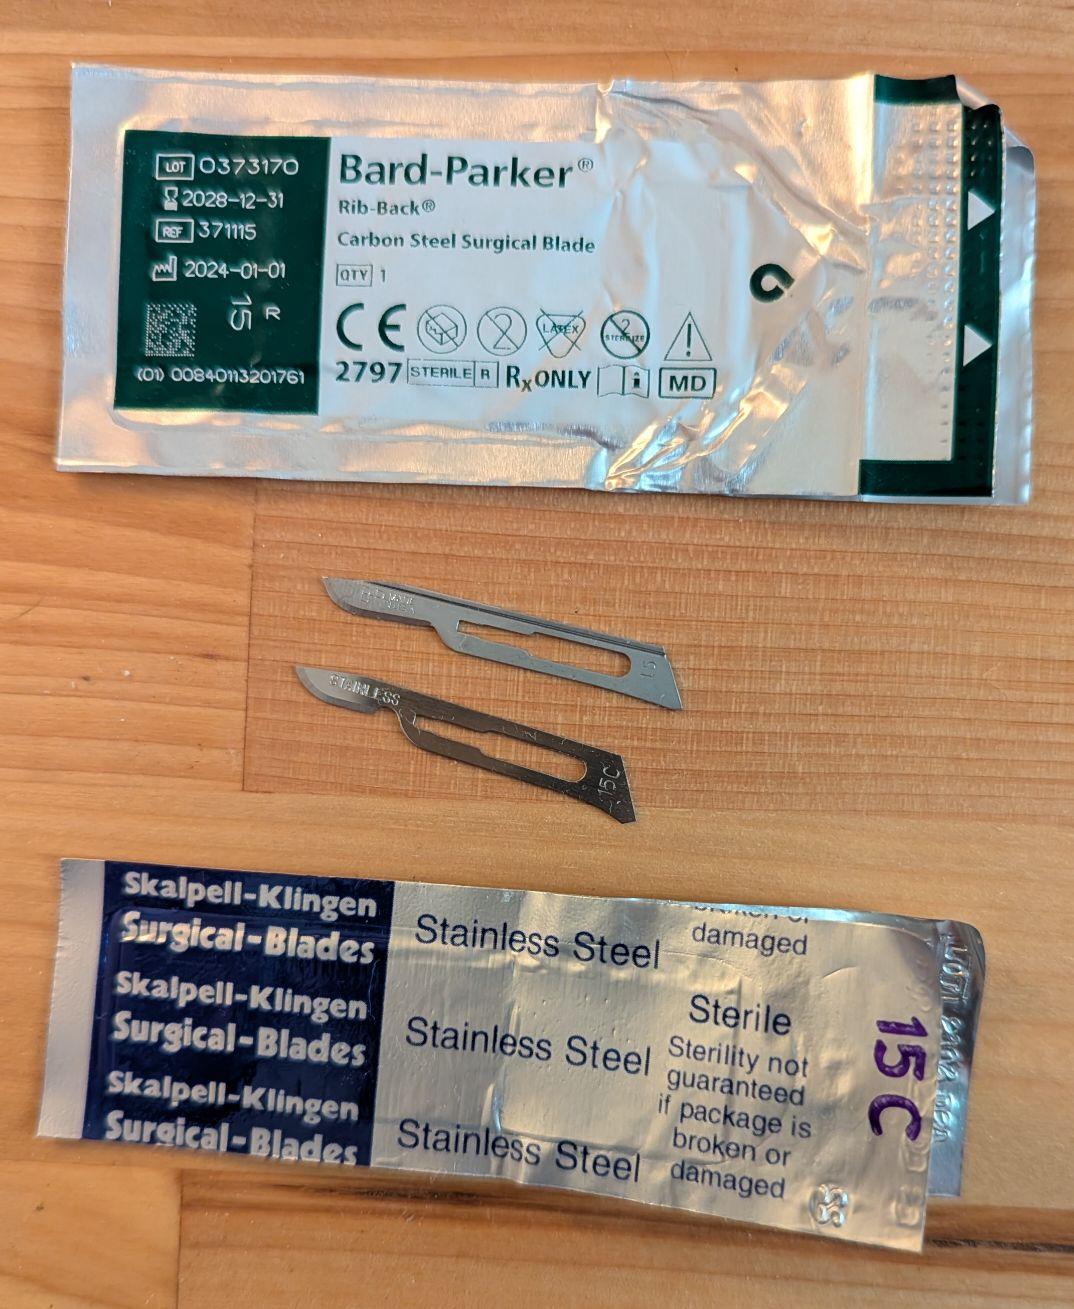
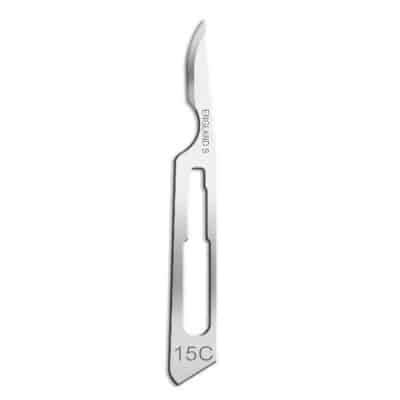
15C scalpel blades: We were hoping that these would be the best of both worlds (11 and 15), but the ones we got (bottom of image below) didn't deliver. They weren't meaningfully different than the 15 blades, except for how they wore out faster. We think maybe a sharper one (second image) might still do the trick.
View 15(c) blades